Why mark the wall when you can mark tape first?
Why This Method Works
- No Permanent Marks – Since all markings are on the tape, your walls remain clean.
- Easier Adjustments – The bottom screw-first technique allows for fine-tuning.
- Faster Installation – Avoids the hassle of erasing or painting over marks.
- More Professional Results – Ensures a level and precise installation every time.
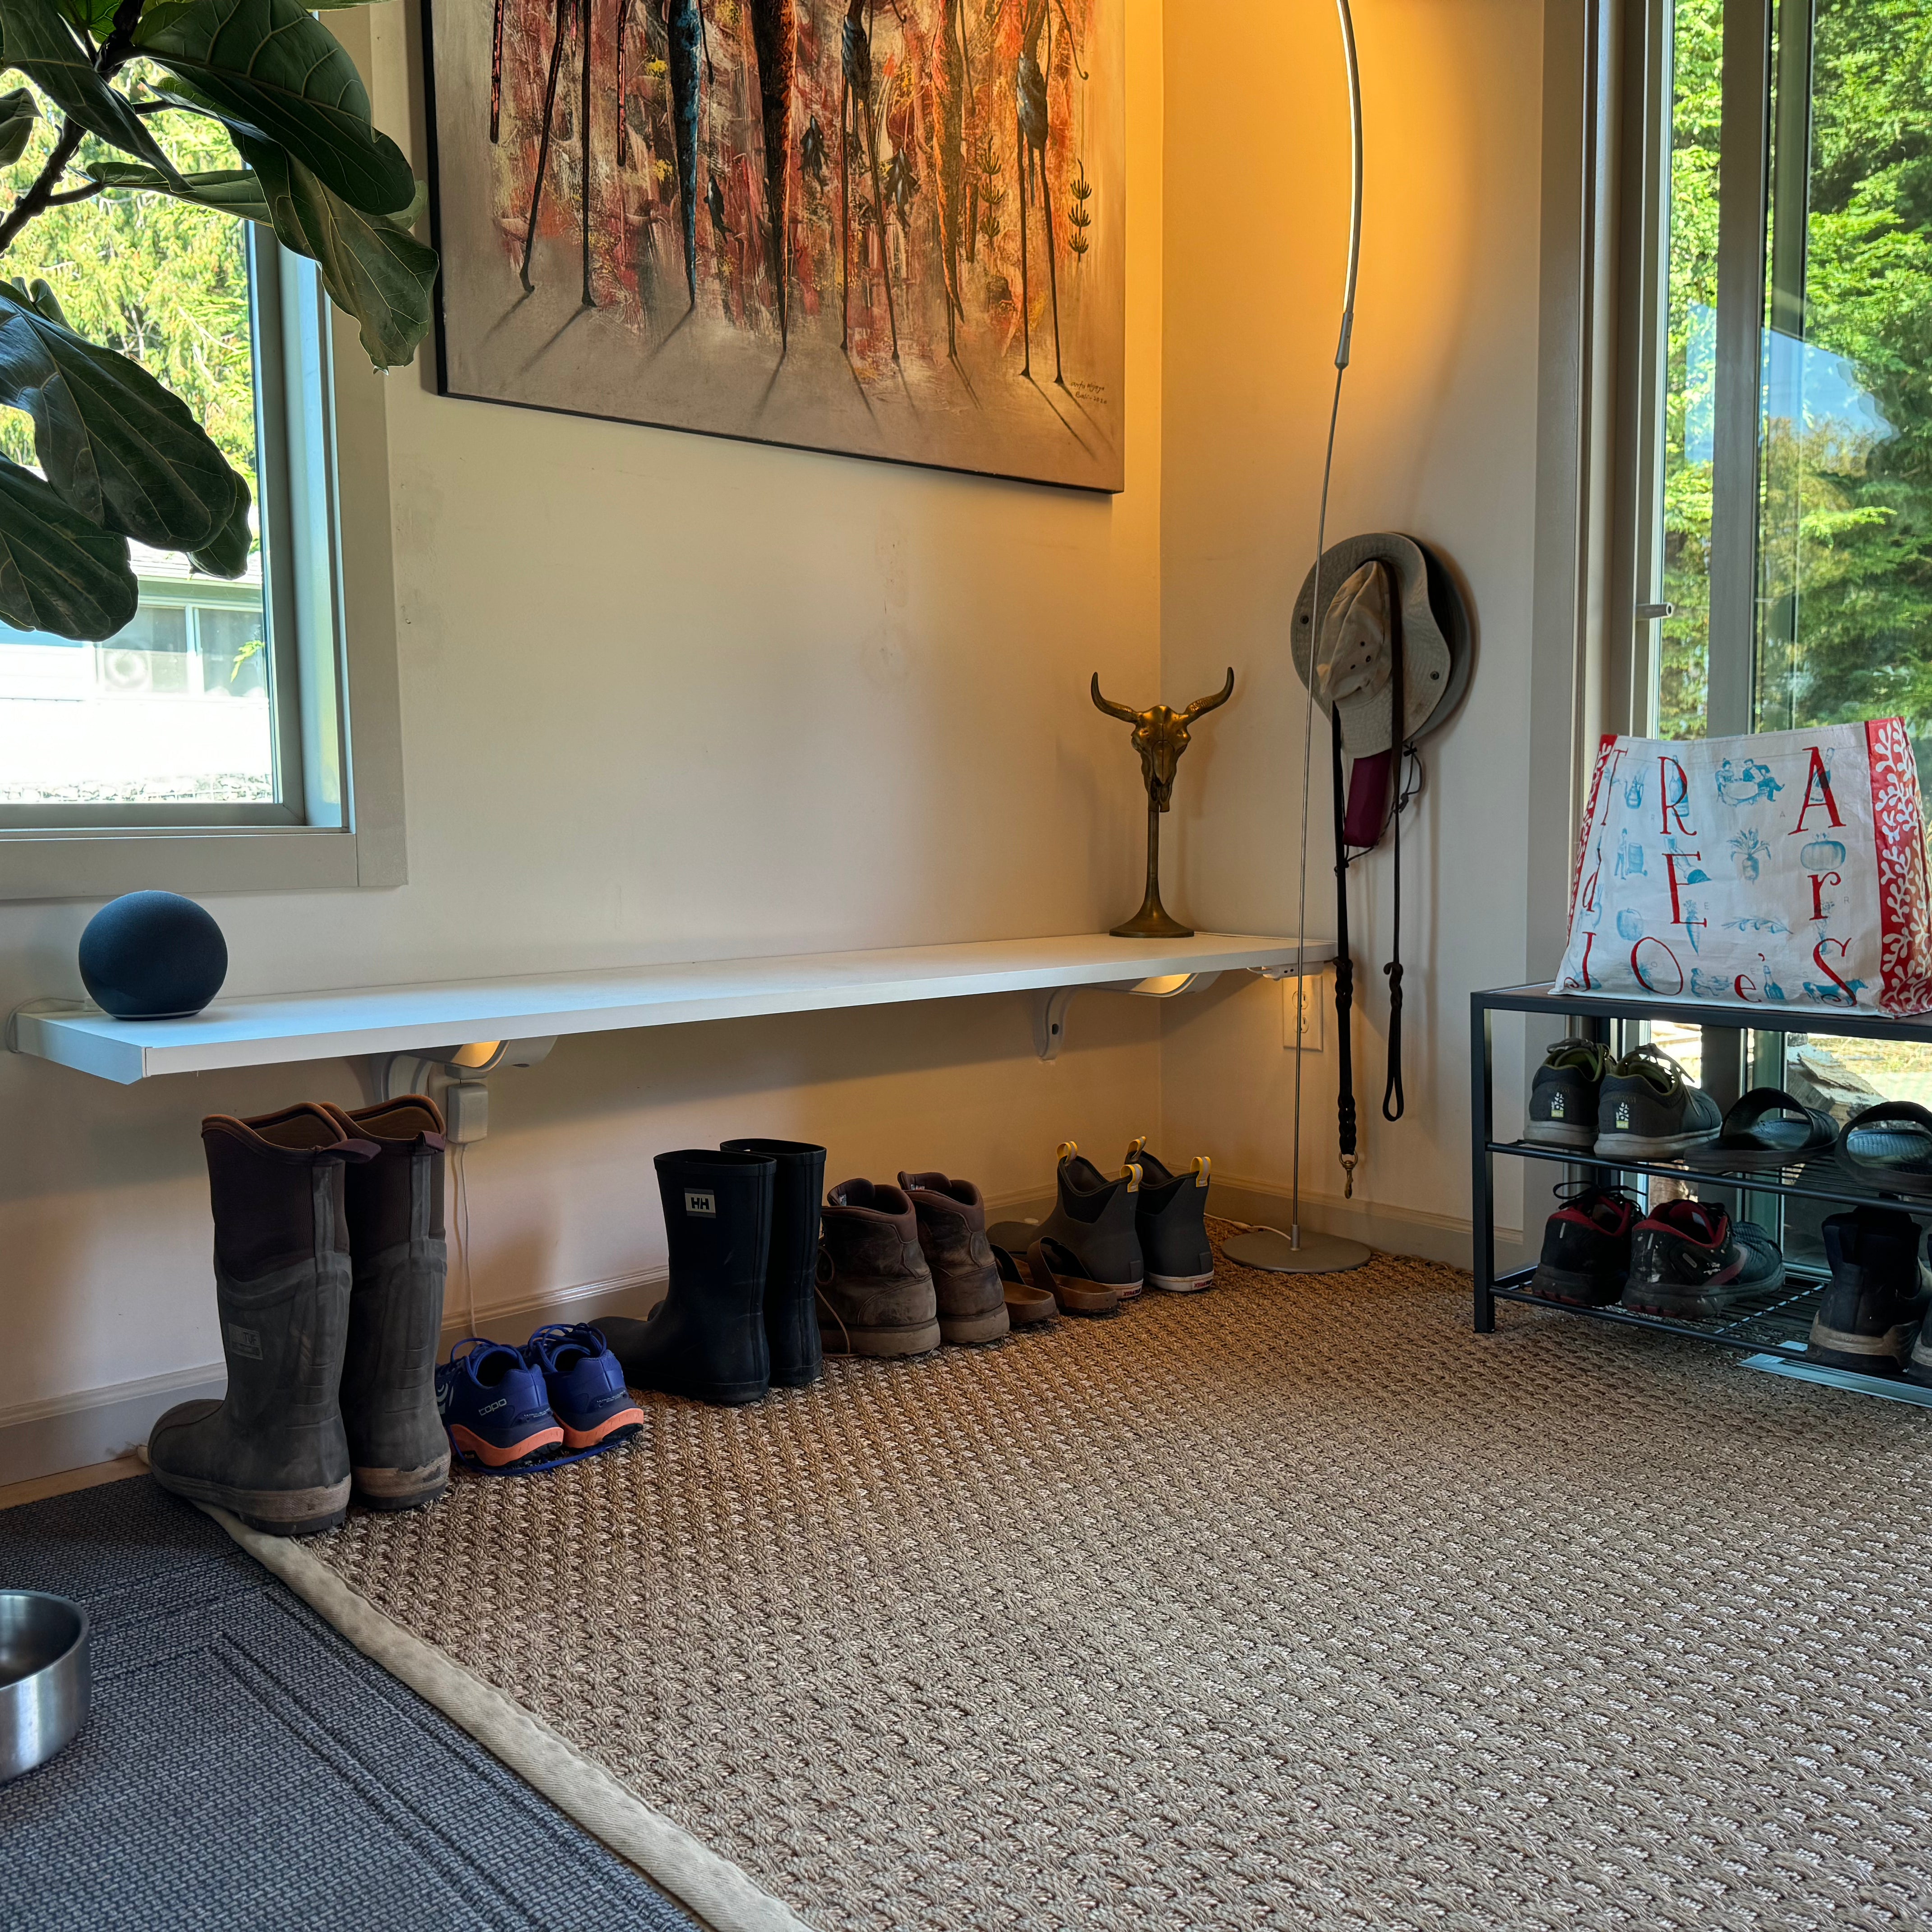
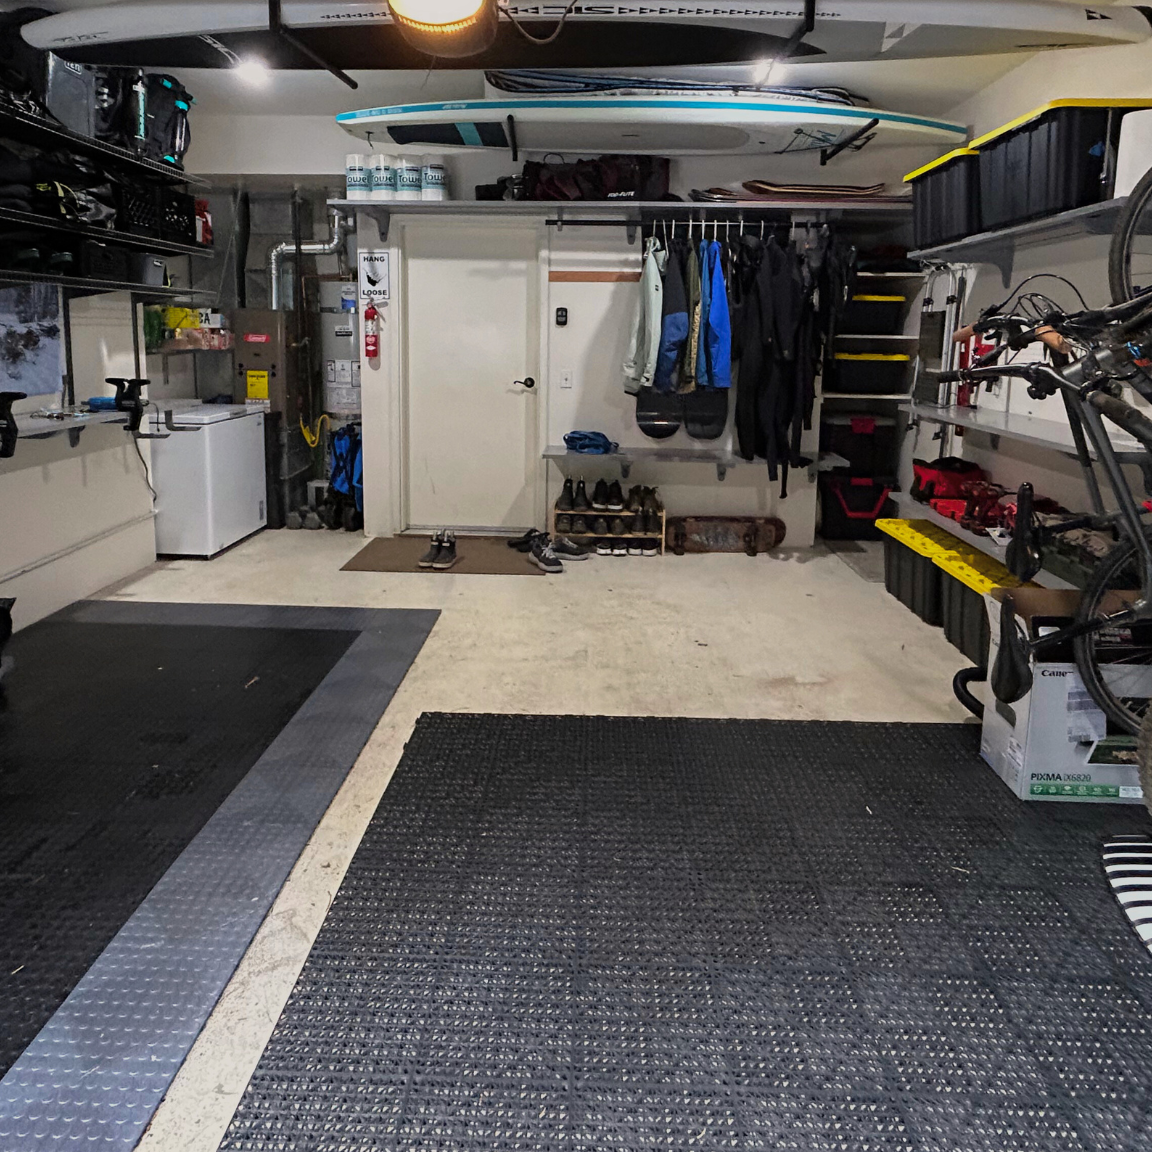
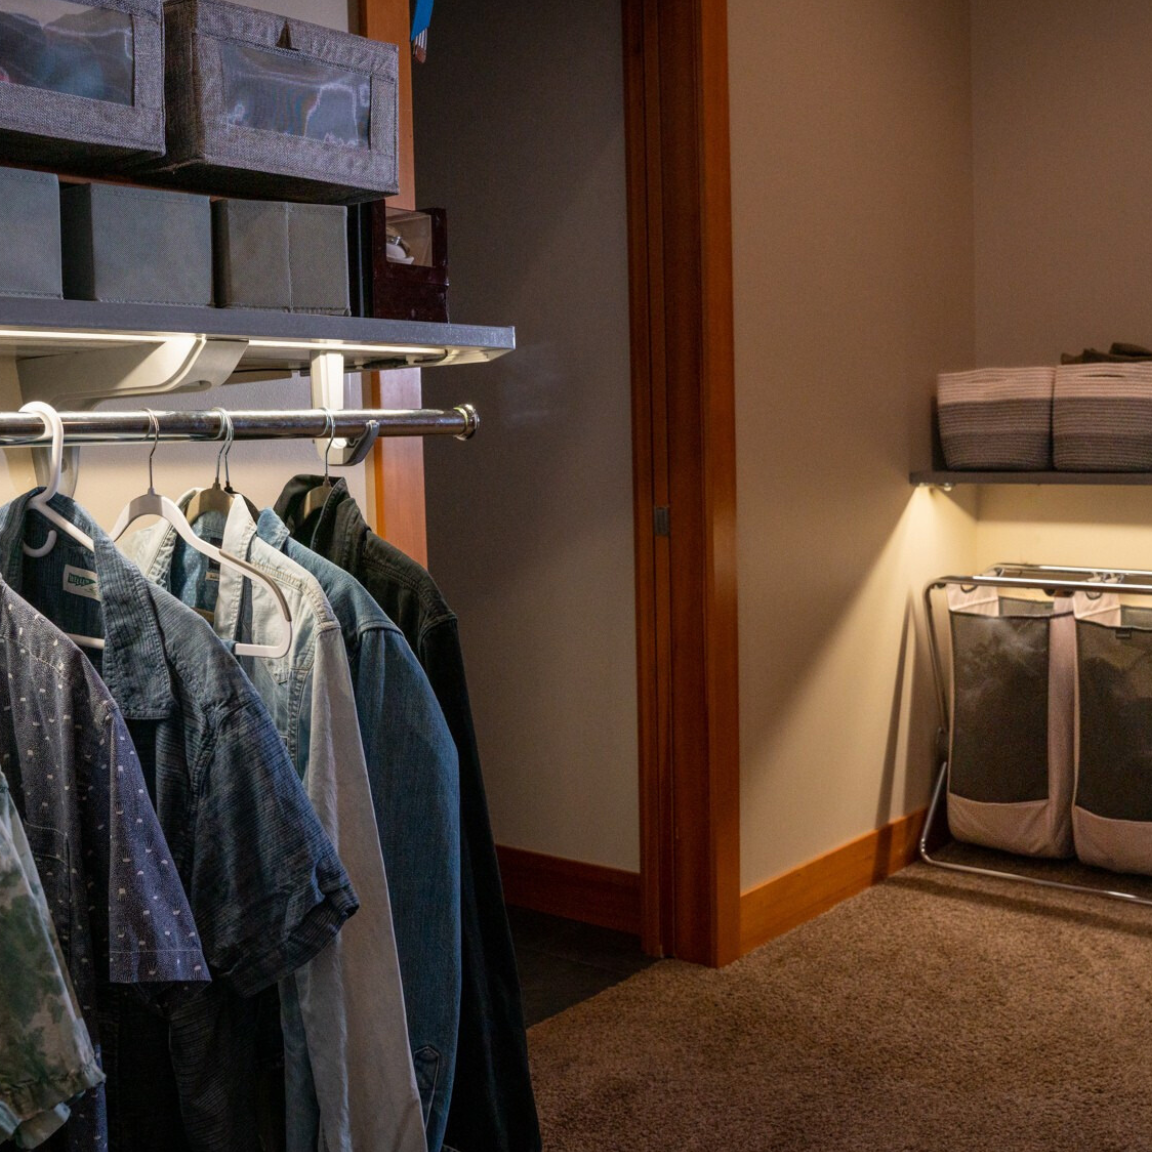
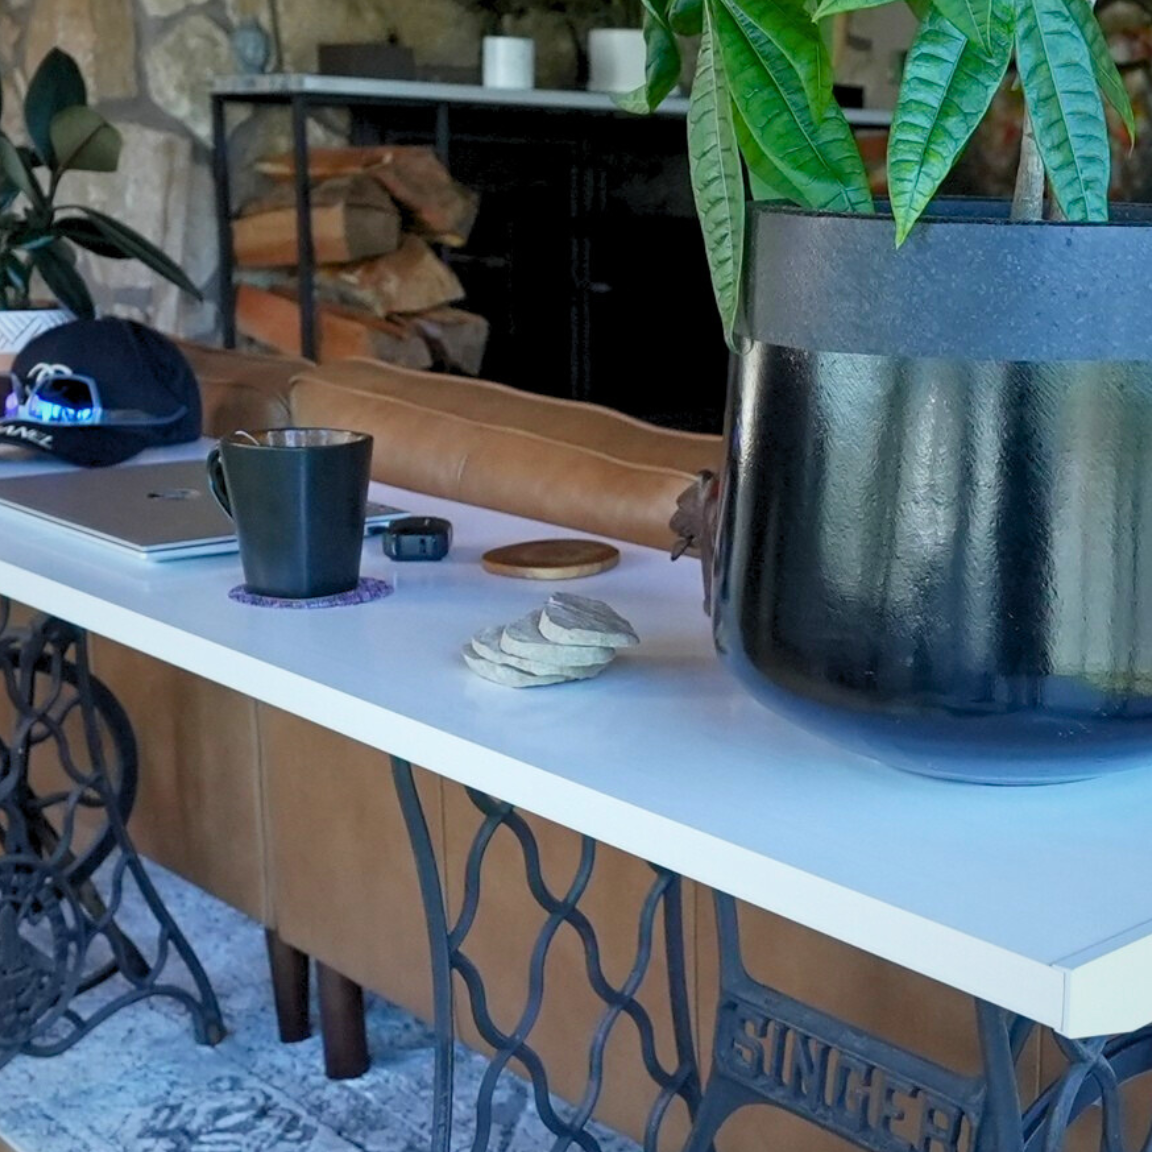
By using this approach, you can confidently install shelves with zero guesswork and zero mess. Whether you’re setting up a closet, a garage storage system, or a stylish floating shelf, the blue tape trick makes the process smoother and more efficient.
Have questions or want to share your installation success? Tag us on social media using #TodenStorage!
What You’ll Need for Effective Marking
- Blue Painter’s Tape
- Pencil (for marking the tape only)
- Stud Finder
- Level
- Measuring Tape
Finding studs can be intimidating and marking them can even provide unnecessary stress or extra work. A little blue tape goes a long way and allows for precise measurements and ensuring everything is level.
At Toden Industries, we’ve developed an easy, mess-free method for installing our heavy-duty brackets using nothing more than blue painter’s tape. This trick not only eliminates the need for marking your walls but also makes the installation process faster and more precise.
By following this simple technique, you can set your shelf height with accuracy, install brackets with ease, and achieve a clean, professional look. Here’s how to do it:
Step 1: Apply the Blue Painter’s Tape
Instead of marking your wall with a pencil, run a strip of blue painter’s tape along the height where you want the bottom of your shelf to sit. This will act as your guideline throughout the installation.
- Ensure the tape is level by using a bubble level or a laser level.
- If you’re installing multiple shelves, repeat the process for each shelf height.
- The tape will serve as a temporary marking surface that protects your wall from permanent marks.
Step 2: Mark Bracket Placement on the Tape
With the blue tape in place, you’ll now mark your bracket positions directly onto the tape.
- Measure and mark where the brackets will be placed.
- For closet installations, space the brackets evenly to distribute weight.
- For garage storage, use additional brackets if you plan to store heavy items.
- Make sure your markings are aligned with wall studs if possible, or use wall anchors if needed.
This method ensures that all your markings stay on the tape, keeping your walls clean.
Step 3: Drill the Bottom Screw First
Now that you have the bracket placement marked on the tape, it’s time to secure them to the wall.
- Hold the first bracket in place, lining it up with your markings.
- Drill in the bottom screw first, but don’t fully tighten it yet.
- Doing this allows you to pivot the bracket slightly if needed, making adjustments easier before securing it fully.
Step 4: Remove the Tape
Once the bottom screws are in place, carefully peel off the blue painter’s tape. Since all your markings were on the tape, your walls remain pristine.
- It's low risk but pull the tape off slowly to avoid pulling paint with it
- If you need to make adjustments, you can still do so before fully tightening the screws.
Step 5: Secure the Top Screw
Now that the bottom screw is holding the bracket in place, you can easily install the top screw.
- Drive the top screw in fully.
- Go back and tighten the bottom screw all the way.
- Repeat for each bracket.
By following this method, your brackets will be perfectly aligned at the desired height without any unnecessary wall markings.
Step 6: Install Your Shelf Surface
With the brackets securely in place, it’s time to install the Toden shelf surface.
- Place the surface onto the brackets, ensuring it sits evenly.
- Secure with included twist pins, locking down your surface.
- Test the stability by applying gentle pressure to confirm it’s properly installed.
Step 7: Step Back and Admire Your Work
Congratulations! You’ve successfully installed your Toden shelving system using the blue tape trick—a simple, effective method that keeps your walls clean while ensuring perfect bracket placement.
Need Help Determining Your Surface Height?
Before installing your brackets, decide where you want your surface to be positioned. Here's some of our recommended height guidelines for optimal storage efficiency.
- Desk Shelf: 28-30 inches
- Mantle: 54-60 inches
- Workbench Shelf: 38-42 inches
- Kitchen Upper Cabinets Alternative: 54 inches
-
Double Row Closets:
- Top shelf: 80.5 inches (for the average female) or 85.5 inches (for the average male)
- Bottom shelf: 36 inches