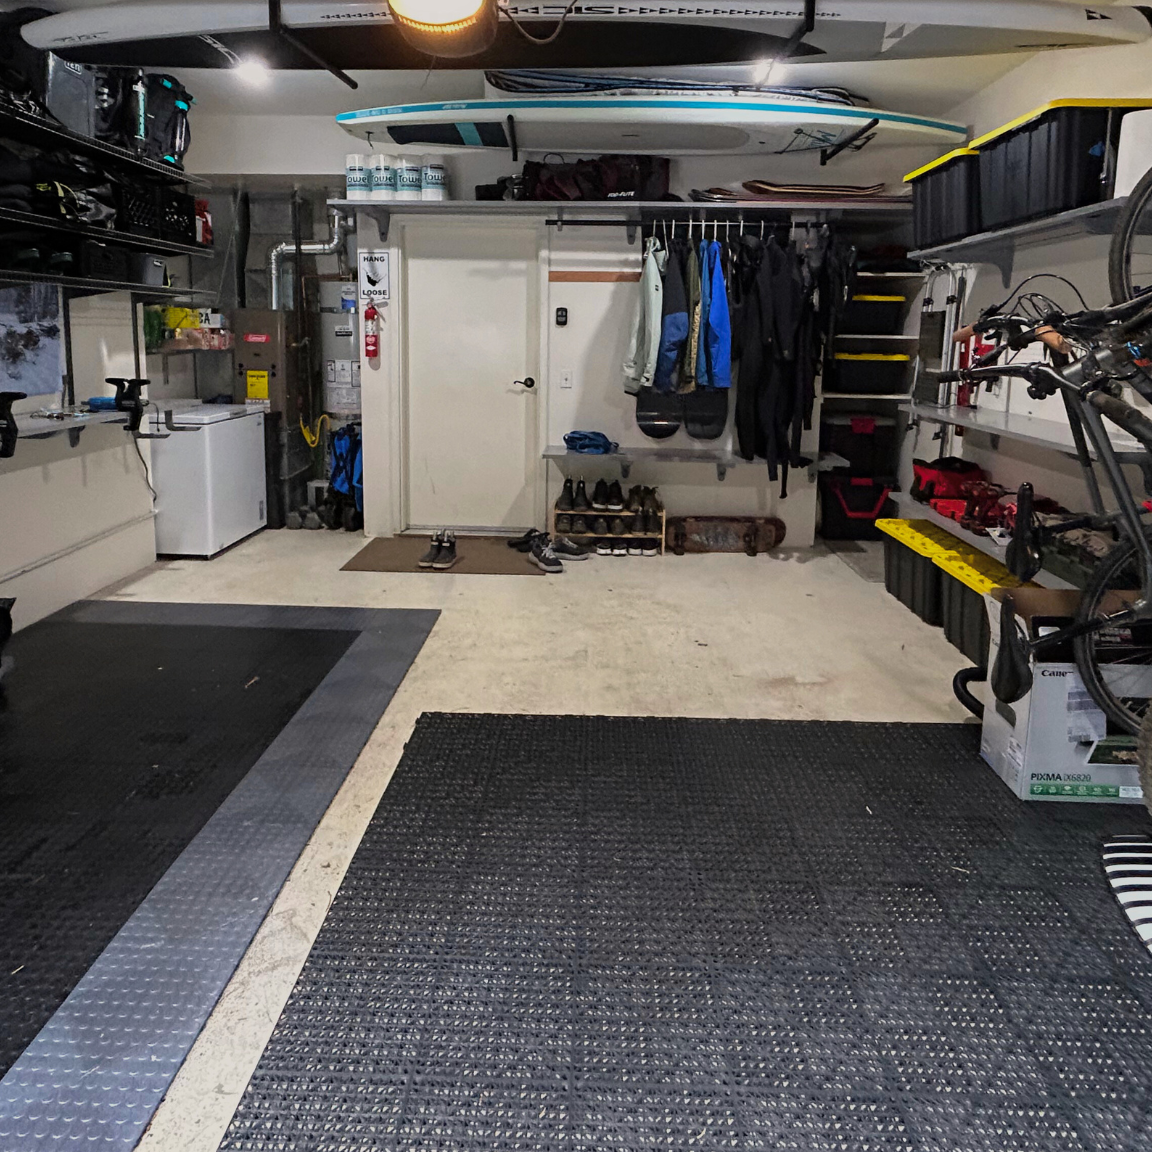
LED lighting isn’t just for modern kitchens anymore. Today, it’s one of the easiest and most affordable ways to add personality, function, and a premium feel to any room—from closets and garages to pantries, playrooms, mudrooms, and more.
If you’re using Toden’s modular shelving, you’re already halfway there. Our surfaces come with a built-in LED groove compatible with most standard LED strip lights on the market. Whether you're aiming for task lighting, mood lighting, or a high-end custom look, this guide will walk you through the process from start to finish.
Why Add LED Lighting?
LED lighting isn’t just aesthetic—it’s practical. Here’s what it brings to your space:
-
Better Visibility: Perfect for dim closets, pantries, garages, or utility rooms.
-
Premium Aesthetic: Adds a professional, designer-built look for a fraction of the cost.
-
Mood & Ambience: Set the tone for your room with warm, cool, or color-changing light.
-
Energy Efficiency: Low power draw with long-lasting performance.
What You’ll Need
To add LED lighting to your Toden installation, gather these items:
✅ Materials Checklist:
-
LED Strip Lights (style of LED and light temperature are important factors)
-
Power Supply (make sure it matches the LED strip voltage)
-
VHB Double-Sided Tape or Hot Glue (adhesion of LED strips can vary)
-
Scissors (LED strips can be cut to length, adhere to your strip’s cut points)
-
Toden™ Modular Surface (already includes the LED groove!)

Step-by-Step: Installing LED Lighting with Toden Shelves
Step 1: Measure Your Surface
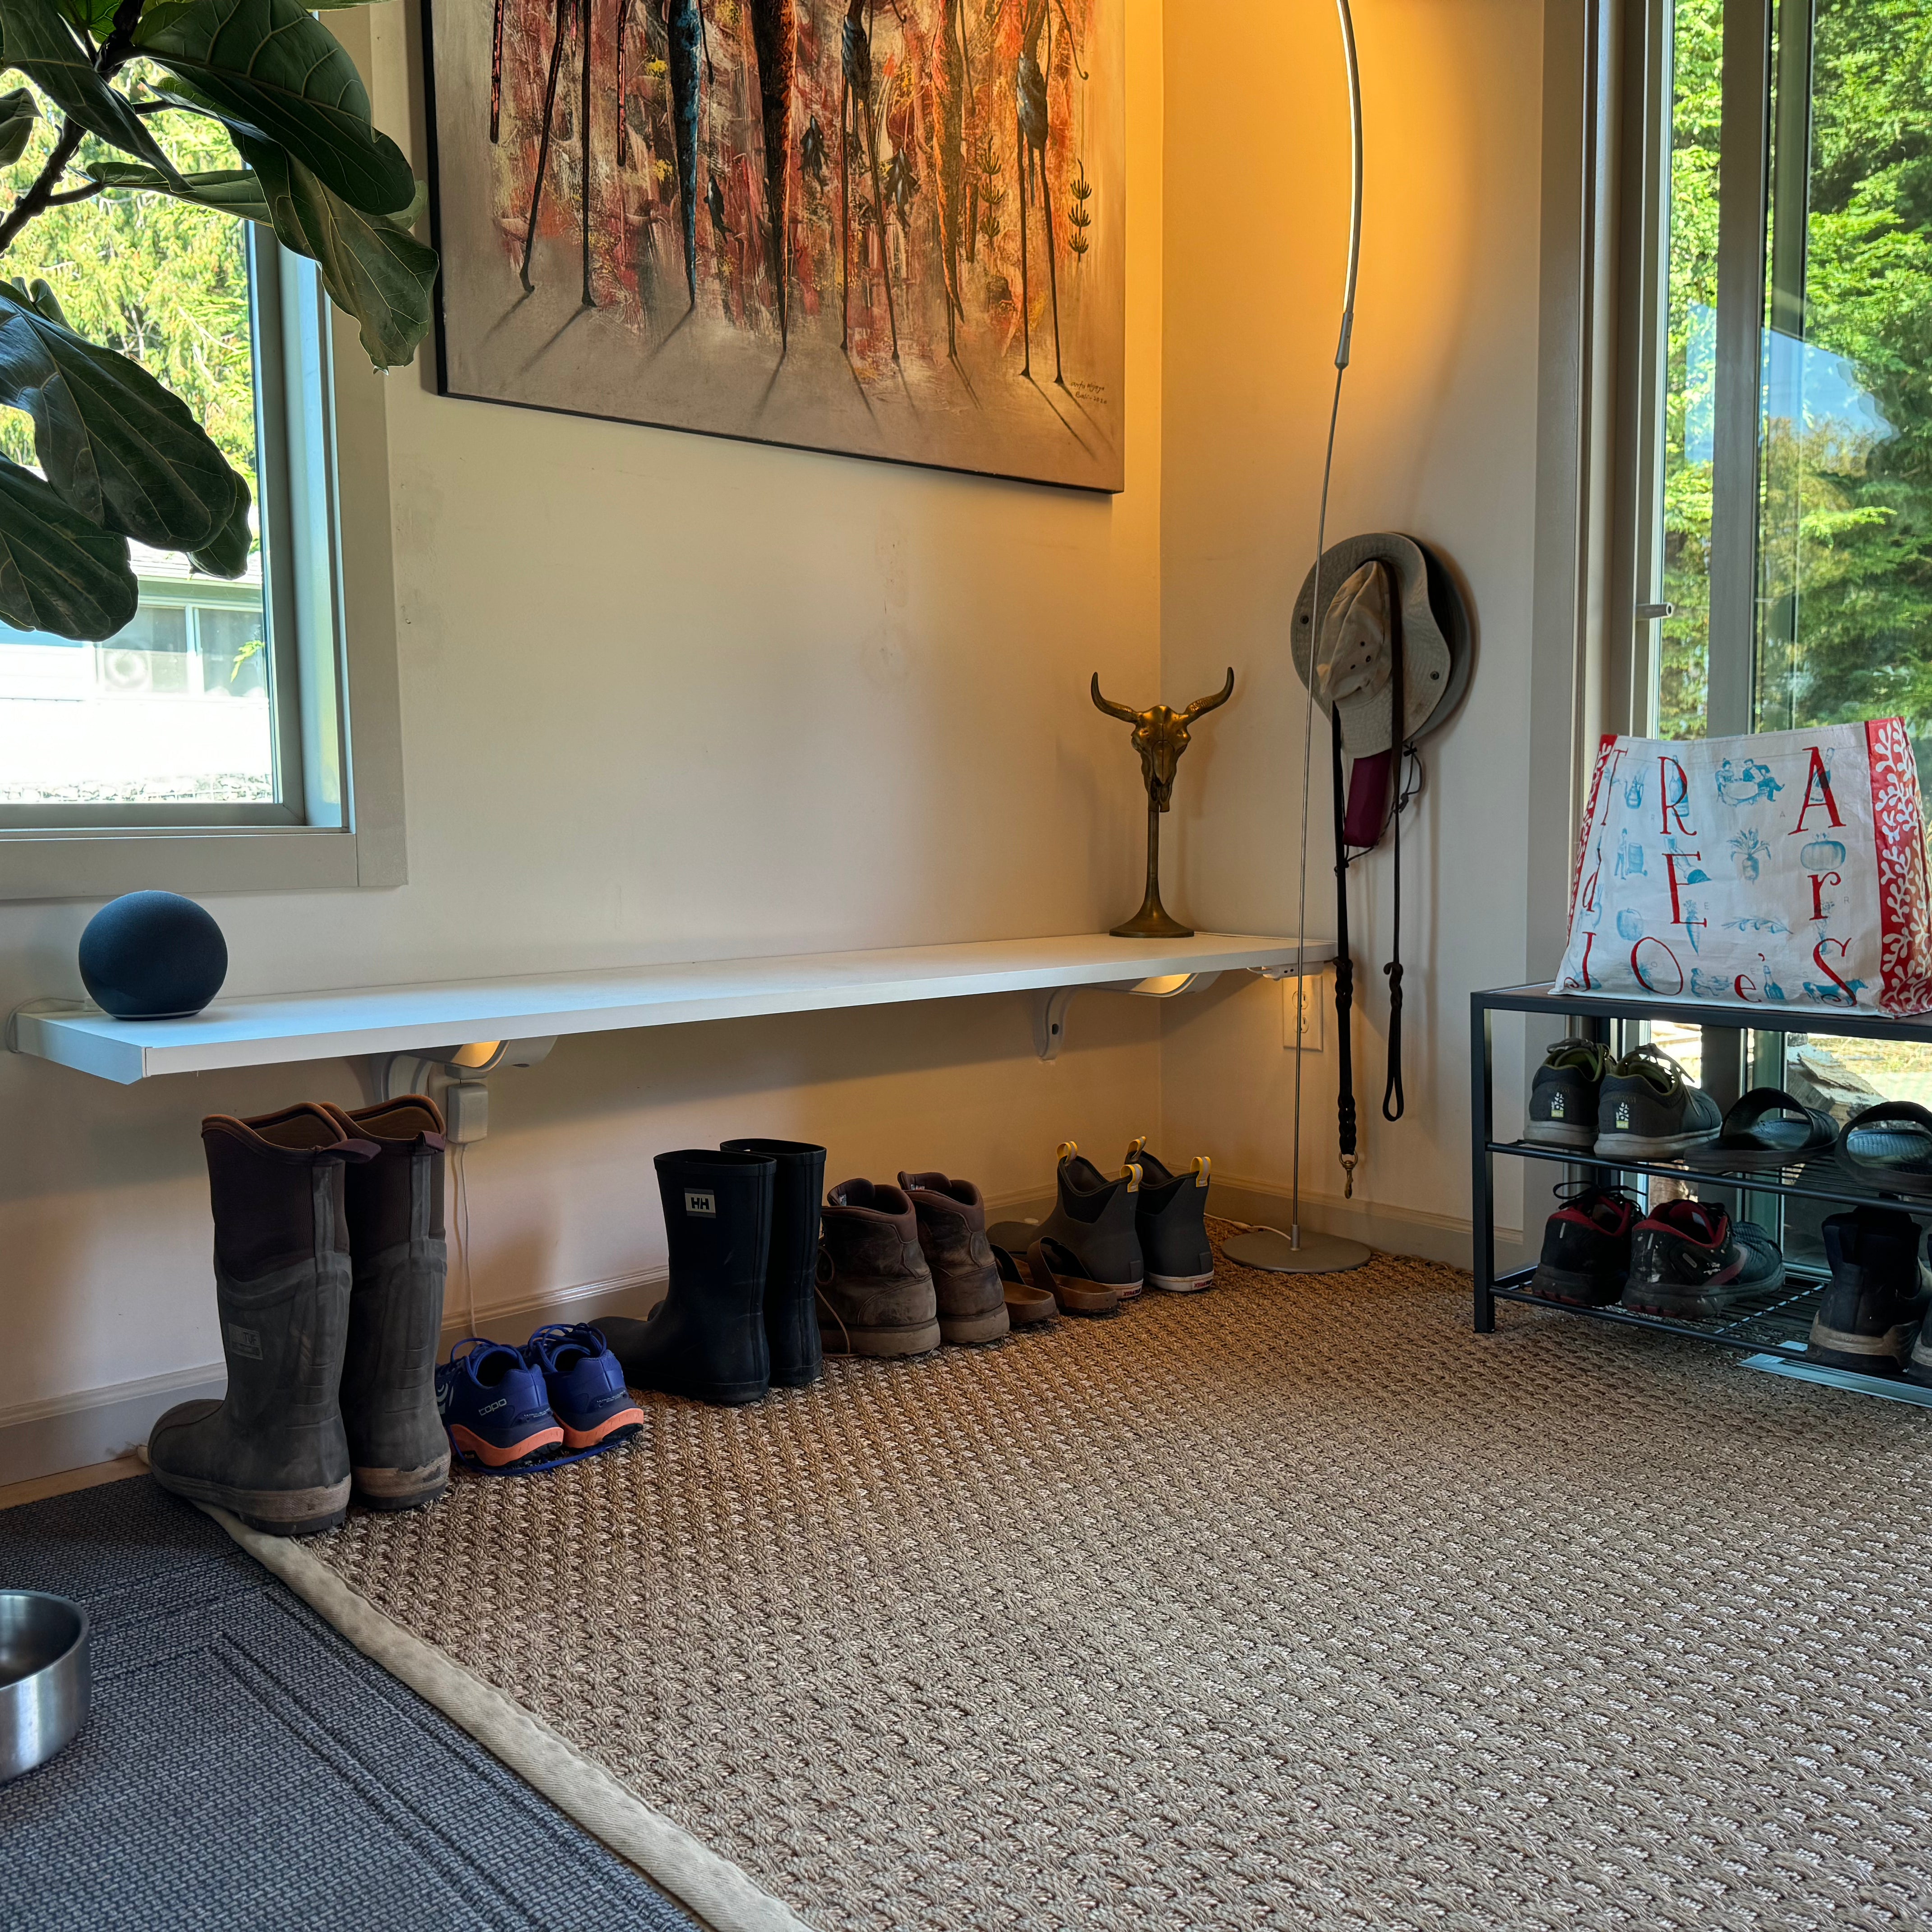
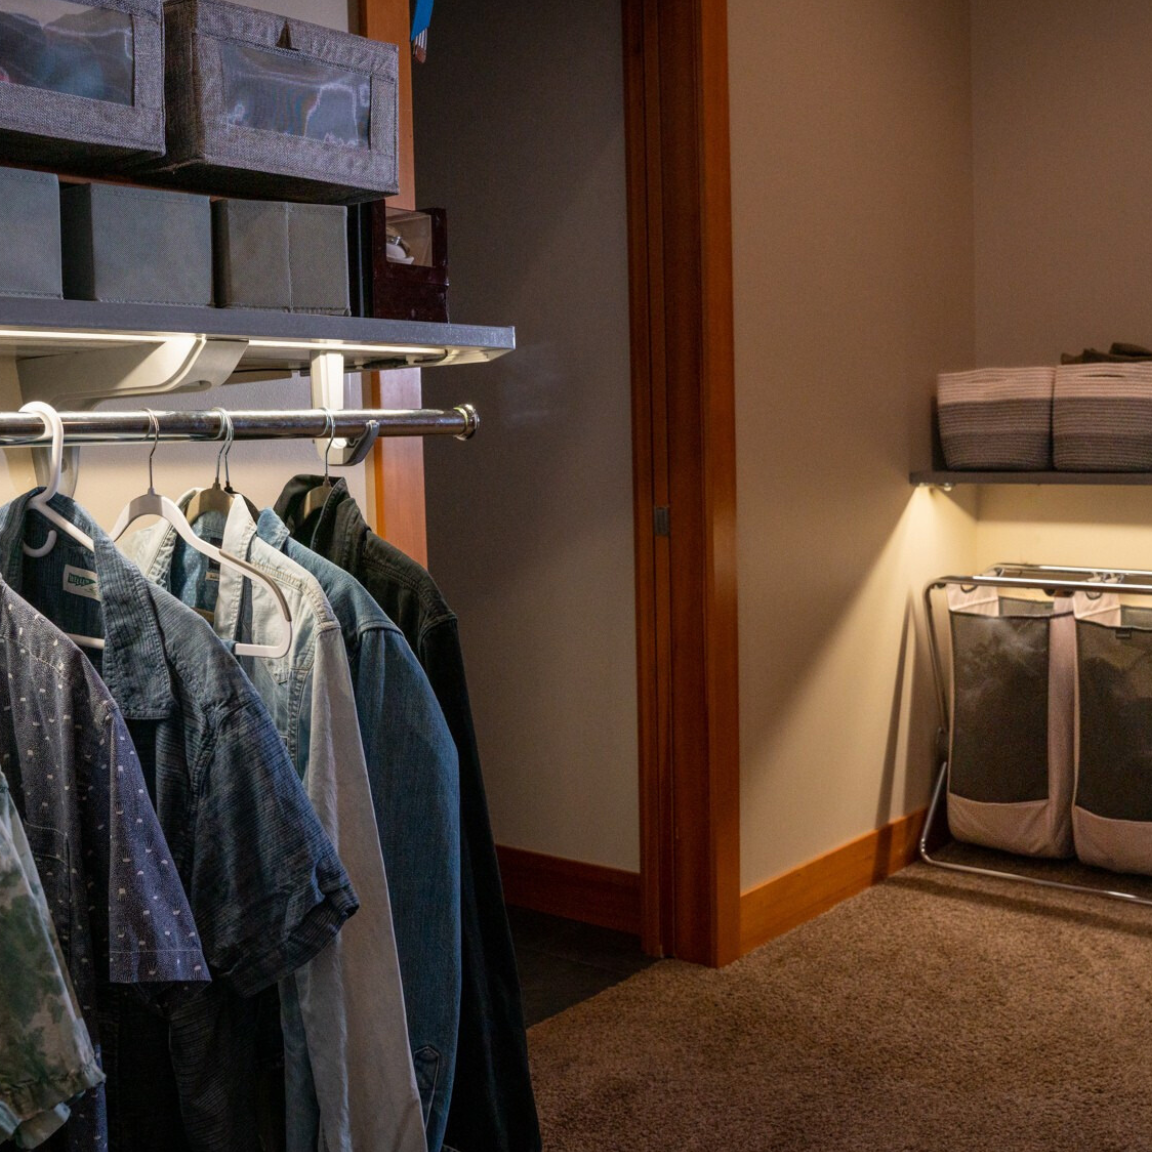
Decide how much of your shelf you want to illuminate. Toden surfaces have a built-in LED groove with three angles of light direction: downward for task lighting, angled for ambient glow, or back-facing for subtle highlights.
Step 2: Choose the Right Strip (Clickable Shopping List)
Pick your LED strip based on use and style. We have provided a clickable shipping list to some of our favorites that have worked well for us.
-
Closets or Workspaces? Go for bright white or daylight LED strips.
-
Mood lighting or display? Choose RGB strips with a remote or app control.

Note: 2,700K light is very warm, with a strong sunset like orange hue. We have found applications where this light was suitable, however it is rare. We always try to keep lighting temperature at 3000k or above.
Step 3: Power It Up
Plug your strip into the power adapter, connect it to your outlet, and test it before installing. This ensures everything’s working before you lock it in place, especially before you bring out the VHB tape or glue gun.
Step 4: Place the Strip into the Groove
Adhesive tapes included with LED strips can vary in how well it holds over time. LED's are made to last for up to 50,000 hours. Use these recommended installation tips to ensure you get long lasting results - although they are not required to install.
Steps for Using VHB Tape
- Clean the LED groove with isopropyl alcohol or mineral spirits, allowing time to dry
- On the VHB tape, peel the adhesive backing from one side of the VHB Tape and gently press it into the groove along your chosen lighting angle for the entire length
- Remove the next backing from the VHB tape and the LED strip light, mating both together for the full lighting length for a continuous extra hold.
- Your installation is now ready for humidity, dust, and even to be moved easily in the future.
Steps for Using Hot Glue:
- Clean the LED groove with isopropyl alcohol or mineral spirits, allowing time to dry
- On the LED strip, peel the adhesive backing from the LED strip and gently press 2" of it into the groove along your chosen lighting angle.
- 2" from the start of the LED strip light, add a dot of hot glue to make a strong adhesion between the surface and the LED strip
- Adhere 16" of LED strip by pressing it into the groove, then stop to add another dot of hot glue.
- Repeat step 4 (dotting glue every 16 inches) until you have ran all your LED strip length into the surface groove, securing the end as well.
- Your installation is not ready for humidity, dust, and even to be moved easily in the
Step 5: Tidy Up the Cords
Use cable clips or ties to secure any loose wires and keep things looking clean. Toden shelves help conceal wiring with the dedicated wire tray against the wall for a tidy finish. Check out this video to see how the cable tray works.
Bonus Tips
-
Use motion sensors for closets or utility rooms so your lights turn on when you open the door for easy automation. Never touch a switch and make that room work for you
-
Don't trust the LED strip adhesives as the results vary. Using VHB Tape for the entire length of strip lighting or dots of hot glue every 16" will ensure your installation lasts without issues
-
Want an ambient glow? Use COB LED strips which have uniform light without needing diffusers
Final Thoughts
Adding LED lighting to your shelves doesn’t need to be complicated—or expensive. With Toden’s integrated LED groove, you can achieve a clean, built-in look that upgrades any space in minutes. Tools are not required.
Whether you’re lighting up your closet, workspace, garage, or pantry, this simple upgrade adds both beauty and function. And best of all, no electrician needed.
Ready to light it up?
Shop Toden Surfaces →