
Good news!
Your project may need 1 cut… or none at all. We designed it that way.
Toden surfaces are made with advanced materials reinforced with woven fibers. That’s what helps you get long spans, cantilevers, and fast installs with snap-lock parts.
Cutting fiber-reinforced plastic is as easy as cutting wood and but needs a little different approach. The key lies in using the right blade, controlling dust, and going slow and steady.


Check Out Our Shopping List

What we’re going to cover


Quick hits (read this first)
These are the big 4:
- Use the right blade

- Always cut outside

- Use a Vacuum during cutting

- Wear PPE (basic protective gear)

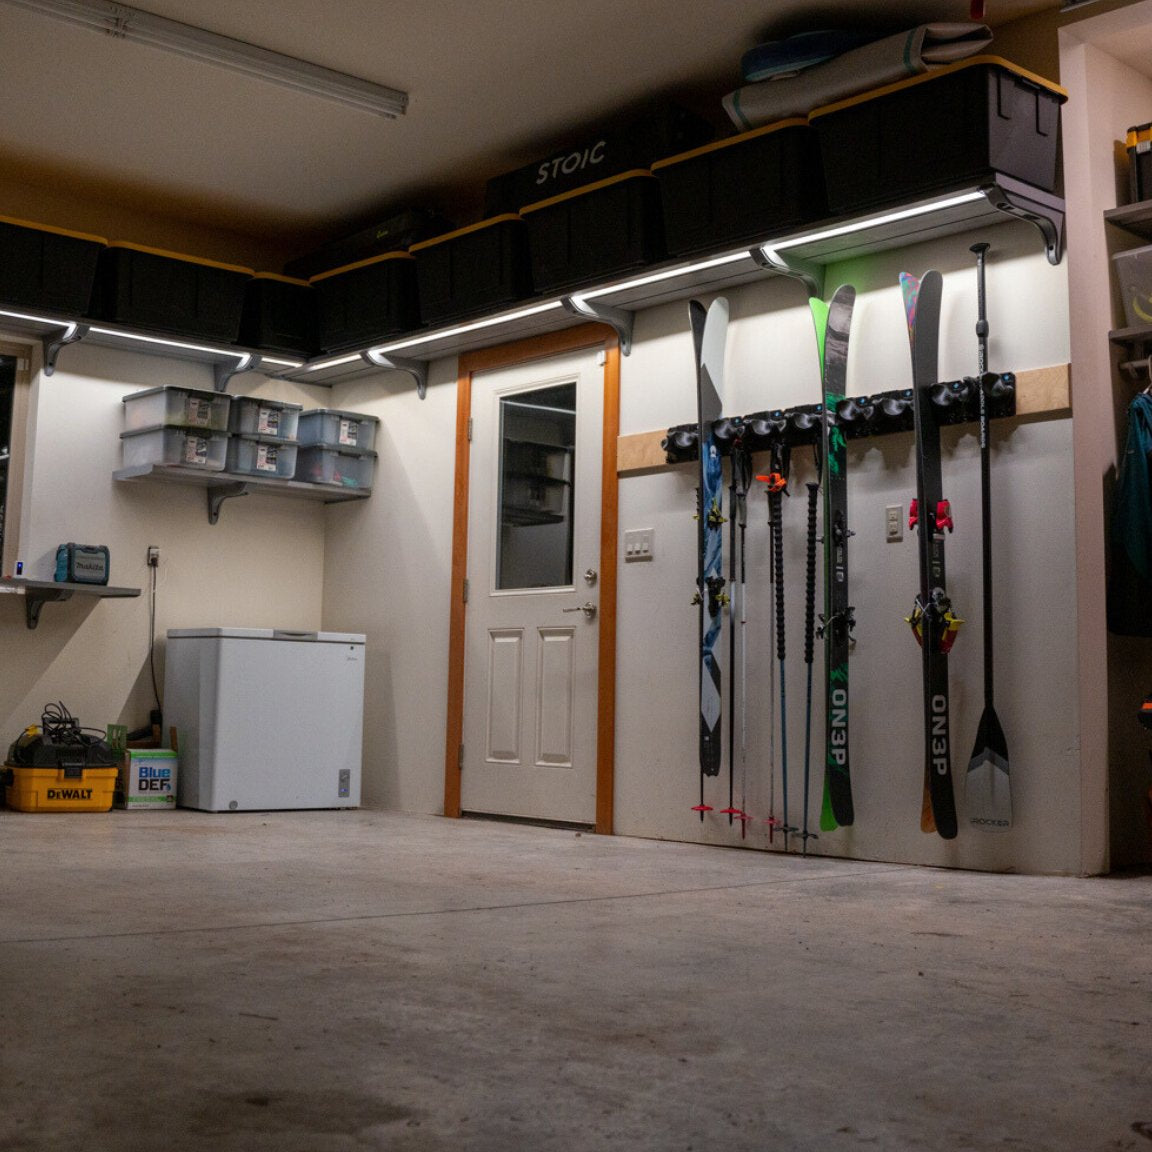
Treat Toden shelves like finished materials
Think of these as “final” parts, not rough lumber. A clean cut will look better when it’s installed.
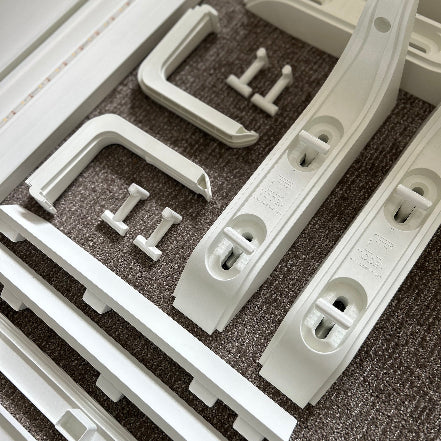
Why cutting hollow cores is different
Toden surfaces are hollow, so cutting can feel super easy at first. Then the blade hits the vertical support areas inside, and the cut can start to feel tougher. That’s normal. Here's what the cores look like.
Your move is: keep it slow and steady as you feel the blade contact those vertical supports. Use a straight edge or guide if you need to :)

Best blades (what to use)
Best option: continuous rim (or high tooth count metal-style) blades
- Smooth, continuous cuts
- Designed for precision
- Lowest chipping potential
Not great for clean cuts: rough lumber blades
- Rips through materials
- Designed to chunk and throw
- Fastest cuts for rough construction
If you want your cut to look clean, pick the continuous rim / metal-style option first.
Blade choice matters (a lot)
Here’s the simple truth:
Bigger gaps in the blade = bigger chunks.

Bigger chunks = more mess + more chipping.

A continuous blade makes straighter cuts and helps reduce chipping and “chunking.”
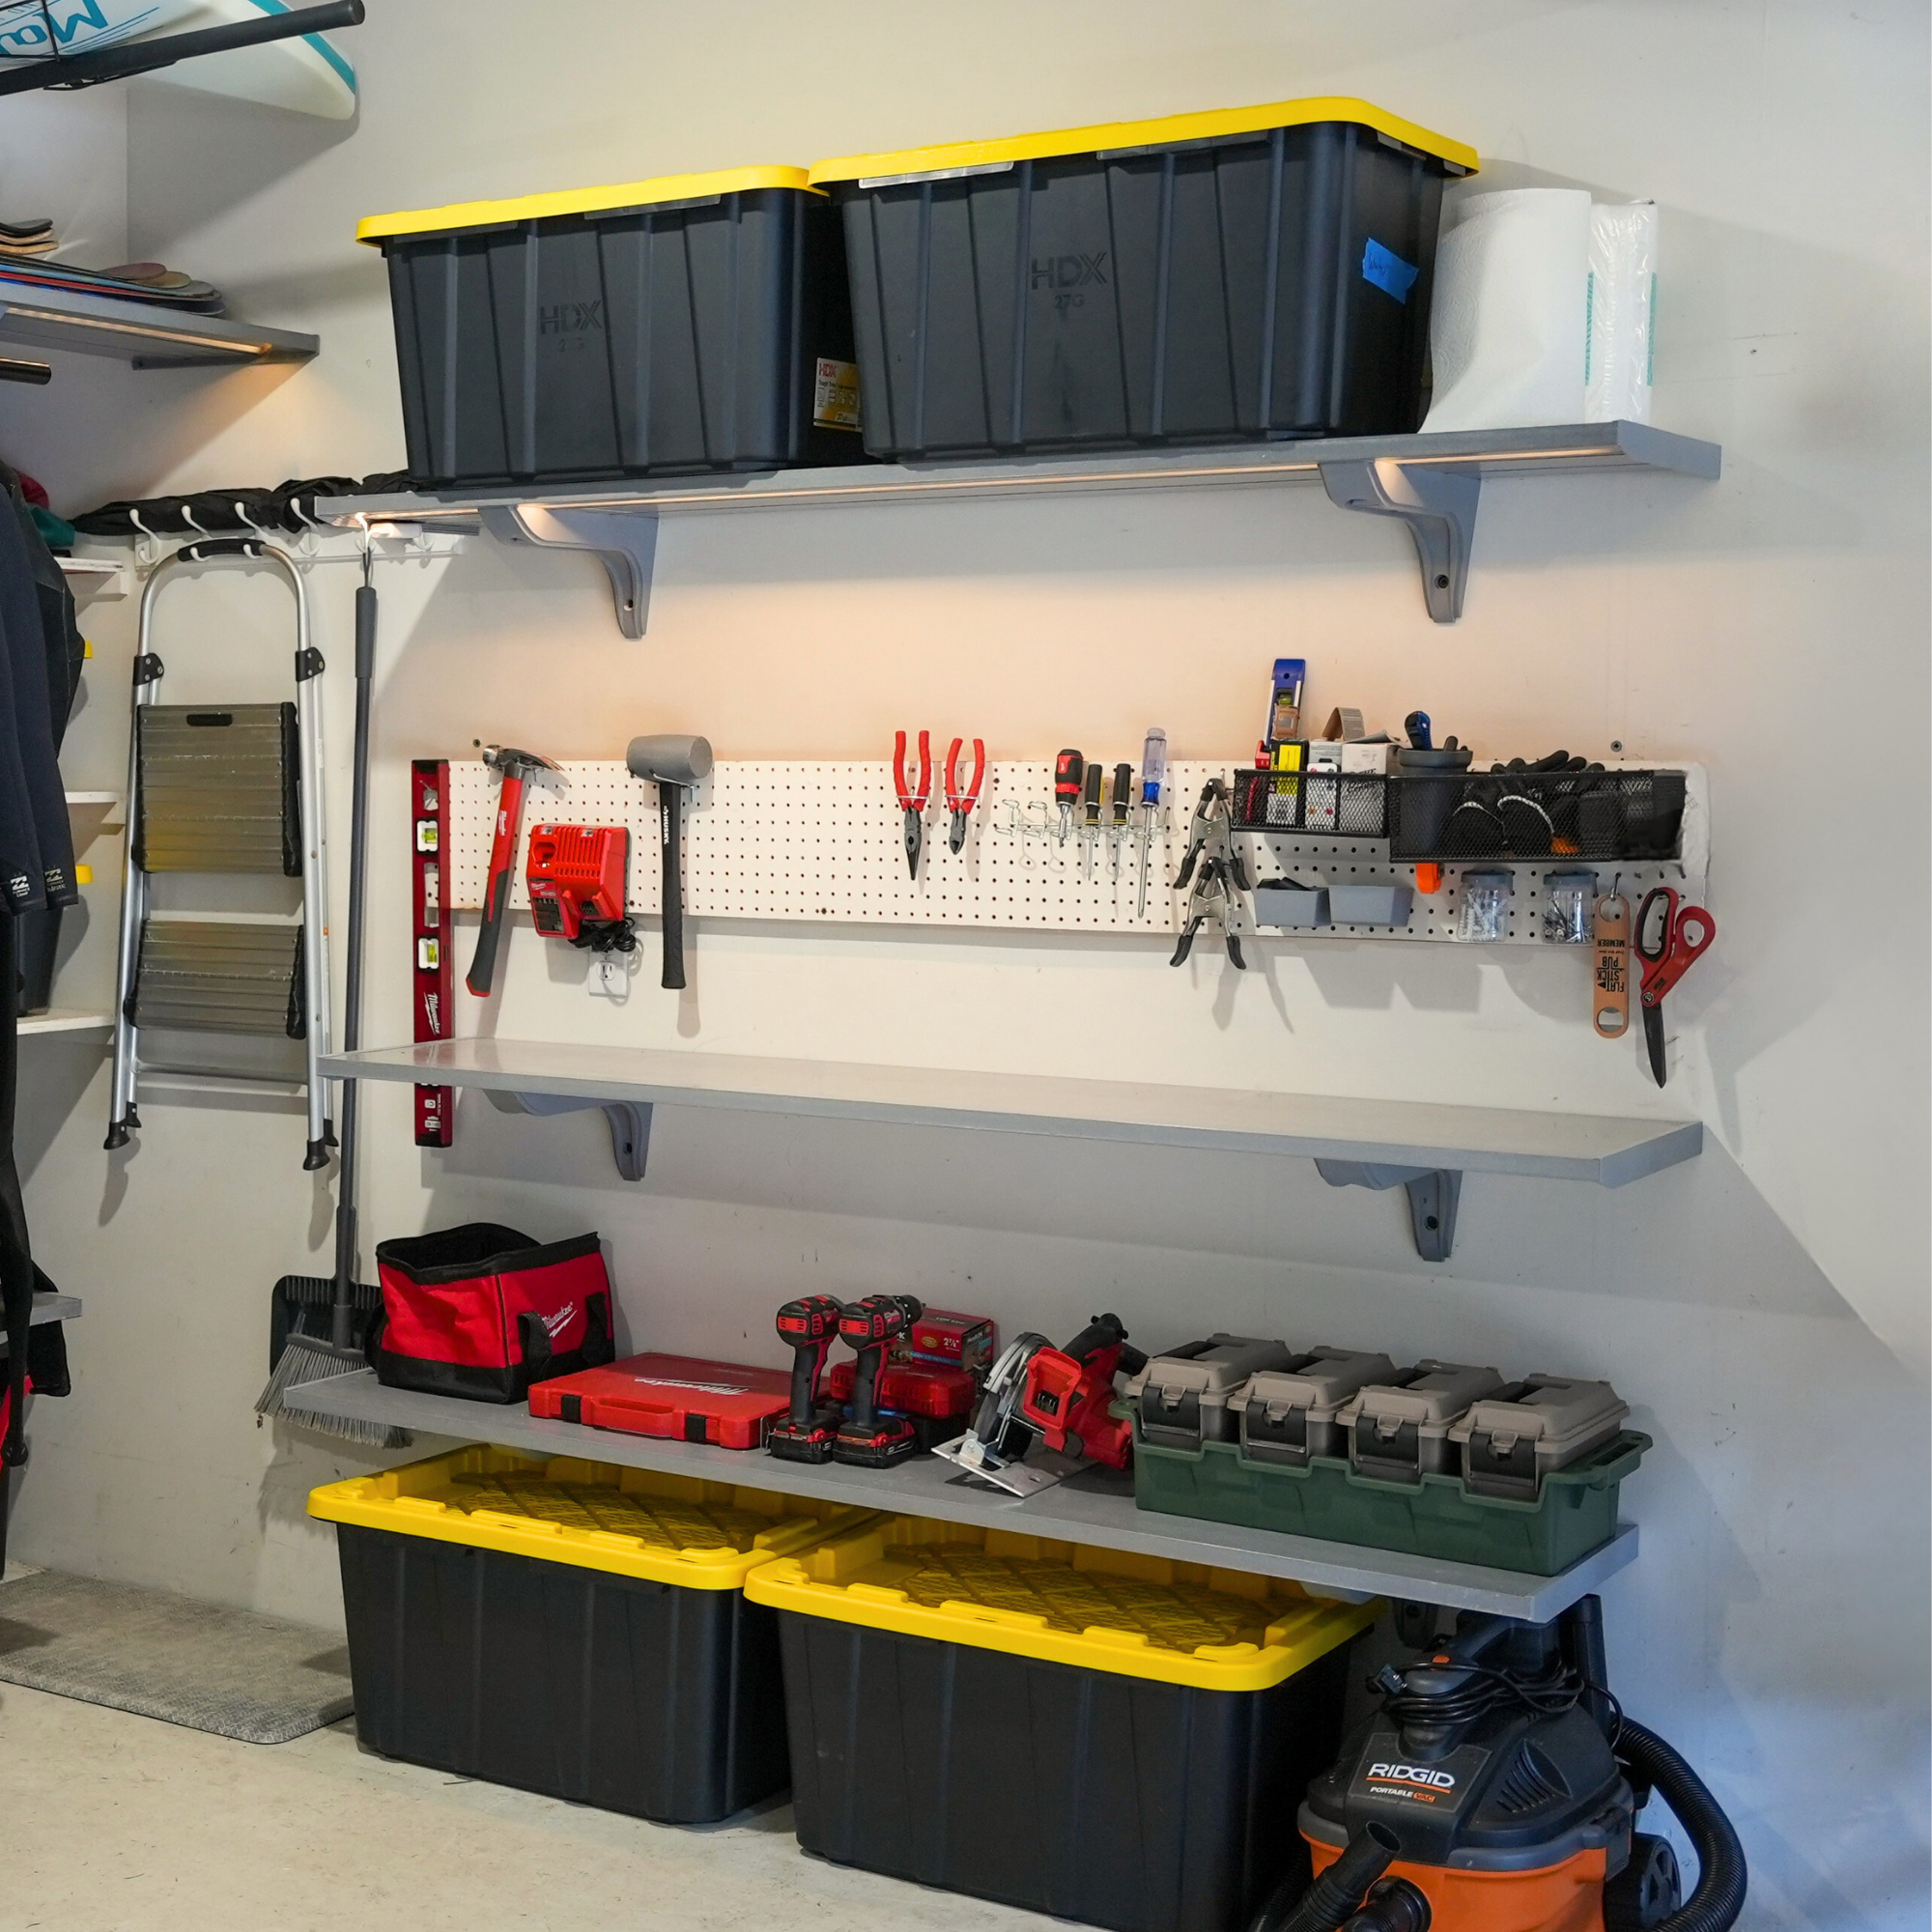
Common cutting tools - Just like wood
If you’re choosing tools, here are the easiest options for clean, straight cuts:
Jig Saw with straightedge/guide (easy to manage tool for DIYers)

Circular saw (good for longer cuts, straightedge optional)

Angle Grinder (works in a pinch, and a great backup)

Hand saw (works if you don't have power tools)

No matter what tool you use, the blade matters most. Below are some options we picked for you with a shopping list.
Step-by-step: a clean cut you’ll feel good about
- Set up outside if possible (less dust in your workspace).
- Measure and mark your cut line.
- Support the surface on both sides of the cut (so it doesn’t bounce).
- Install your continuous rim / metal-style blade based on the above
- Start the saw, let it get up to speed, then cut with steady pressure.
- When you hit the internal vertical supports, slow down and stay smooth.
- Let the blade finish the cut—don’t force it.
You’re not trying to cut “fast.” You’re trying to cut clean.


Dust control tips (keep it simple)
- Cut outside when you can.

- Put a shop vac near the cut.

- Move slow, if you see chunks flying, go slower — chunks mean more mess and more chipping.

PPE (protective gear) you should wear
Don’t NOT skip:
- Safety glasses

- Dust mask (respirator works too)

- Gloves

- Sensitive skin? Wear long sleeves (helps with dust and possible irritation)

And yes—this matters even for one cut.
Final reminder
Most builds need one cut, if any. Use the right blade, cut outside, control the dust, wear PPE—and take it slow when you feel the internal supports.